How Can You Transfer Data from Samsung to iPhone Easily?
Advertisement
Switching from a Samsung to an iPhone feels exciting. But if you’re like most people, you’re probably wondering, “How will I move everything over without a tech meltdown?” Thankfully, transferring your data isn't as complicated as it sounds. It just needs a little bit of preparation and the right method to get everything—from your contacts to your favorite photos—onto your new device without a hitch. Let’s walk through everything you need to know to make it happen without stress.
Tools You’ll Need Before You Start
Before you get rolling, you’ll need a few things to make the process smooth:
Both phones are fully charged – Trust me, you don’t want either one dying halfway through.
A strong Wi-Fi connection – This isn't a place to rely on spotty public networks.
Your Apple ID login – If you don't have an Apple ID yet, it only takes a minute to create one.
A Lightning to USB-C cable or adapter – Depending on your models, this might come in handy.
Once you have these ready, moving your data becomes a whole lot easier.
How to Transfer Data from Samsung to iPhone
There’s a free tool from Apple called Move to iOS, and it does most of the heavy lifting for you. Here’s exactly how to use it:
Step 1: Prepare Your iPhone
Turn on your new iPhone and follow the setup steps. When you reach the Apps & Data screen, you’ll see an option called Move Data from Android. Stop there and keep your iPhone on that screen.
Step 2: Get the Move to iOS App on Samsung
On your Samsung device, head over to the Google Play Store and download Move to iOS. Once installed, open the app, agree to the terms, and hit Continue.
The app will ask for some permissions—like accessing your contacts, messages, and photos. Grant all the permissions because they are needed to bring everything over.
Step 3: Connect the Two Devices
On your Samsung phone, enter the code that’s displayed on your iPhone. This creates a private Wi-Fi network between the two devices. It’s fast, secure, and doesn’t use your regular internet.
After entering the code, your Samsung will connect to the iPhone. Now, you'll get to select what data you want to transfer.
Step 4: Choose What You Want to Transfer
You can transfer:
- Contacts
- Message history
- Photos and videos
- Web bookmarks
- Calendars
- Mail accounts
- Some apps (if they are available on iOS)
Choose what you want and tap Next. Then, the transfer begins. Depending on how much stuff you’re moving, it might take a few minutes to over an hour.
Step 5: Finish Up
Once the transfer finishes, your iPhone will guide you through setting up the rest of your device. Sign in with your Apple ID, download the apps you need, and you’re good to go.
And just like that, you’ll find your old world waiting for you in your brand-new iPhone.
Things You Should Know During the Transfer
While the process is pretty smooth, there are a few small details you’ll want to keep in mind:
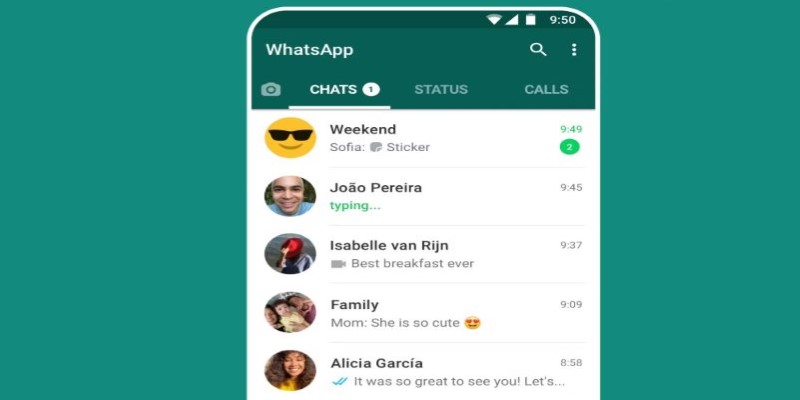
WhatsApp Chats: If you want to move WhatsApp messages, you’ll need to use the built-in WhatsApp feature called Transfer Chats to iPhone. It’s different from the general Move to iOS process.
Apps That Don’t Exist on iOS: Some Android apps may not be available on iPhone. In that case, you might need to find alternatives.
Passwords and Settings: These usually don't transfer. You’ll have to re-enter Wi-Fi passwords and reconfigure some settings manually.
Music: If you purchased music outside of major streaming services, you’ll need to manually move it or use cloud services like Google Drive or Dropbox.
Files: Google Drive, OneDrive, and Dropbox are great for moving random files you want to keep but that aren't automatically transferred.
Keeping these points in mind saves you from surprises once the transfer is done.
Alternative Ways to Transfer Data
Sometimes, Move to iOS might not work perfectly, or you may just want another option. Here are a couple of alternatives:
Using Google Account
If you have already backed up your contacts, calendar, and some files to your Google account, you can simply sign in on your iPhone and sync those things without needing a special app.
Contacts and Calendar: Go to Settings > Mail > Accounts > Add Account > Google.
Photos: Install Google Photos on your iPhone and log into your Google account to access all your backed-up images.
This method doesn’t move everything, but it works well for essentials.
Using Manual Transfer
You can always move photos, videos, and files manually:
- Upload them to Google Drive or Dropbox on your Samsung phone.
- Install the same app on your iPhone and download your files.
This is a bit more work, but if you like controlling exactly what moves over, it’s worth considering.
Using a Computer as a Middle Step
Another way is by using a computer to act as a bridge. Here's how it works:
- Connect your Samsung to your computer and copy your photos, videos, and important files onto a folder.
- Disconnect the Samsung, then connect your iPhone to the computer.
- Use iTunes (or Finder on a Mac) to sync the files from your computer to your iPhone.
This method gives you a clear view of exactly what you are transferring, especially if you prefer having a backup outside of your phone. It takes a little more time but works well if your internet connection isn't the best or if you prefer doing everything offline.
All Set!
Switching from Samsung to iPhone might feel like a big jump, but transferring your data doesn’t have to add to the pressure. Whether you stick to the Move to iOS app or go with a manual method, you have all the tools you need to make the switch without missing a beat. Think of this as setting the stage for a fresh start while keeping all the things that matter close by. A little time spent today saves you from frustration tomorrow. Charge up those phones, grab a strong Wi-Fi signal, and step into your new iPhone experience, knowing everything you care about is already waiting for you.
Advertisement
Related Articles
Secure Your Communications: How to Send Encrypted Emails in Gmail

7 Key Differences Between Bitwarden and LastPass That Matter in 2025
Top MXF Recorders to Fix Compatibility Issues with Screen Recordings
7 Key Questions to Decide Between Evernote and Google Keep in 2025

8 FLV Recorders That Help You Save Streaming Videos
Get Best 8 Video Editing Software to Make Your Own "Hollywood" Video
Zoho Uncovered: Why It Offers So Many Apps

Which Is Better for Your Team in 2025: Asana or Monday?

Top 5 Benefits of Using Social Intents for Support

Record Your Screen in Stunning Quality: Top Software Picks for Windows Users
5 Simple Steps to Create Your Own AI Calendar Assistant

 novityinfo